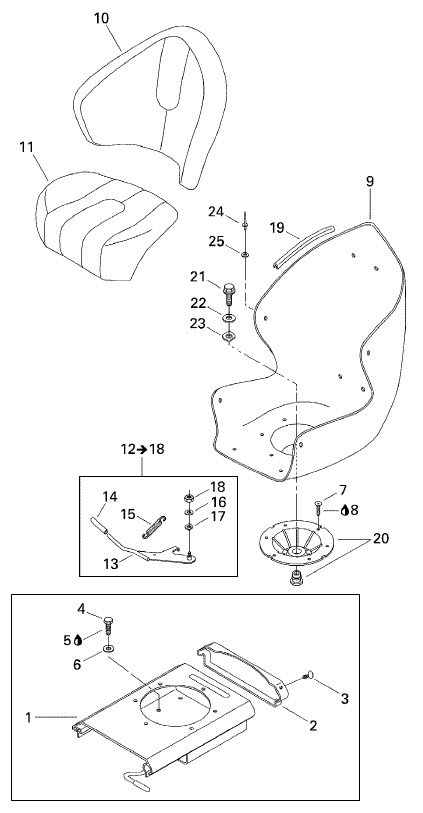
Exploded View
Hardware to Buy:
4 - Stainless steel, 5/16", #18 thread, pronged T-Nuts4 - Stainless steel, 5/16", #18 thread, 1" long, countersink head Screws
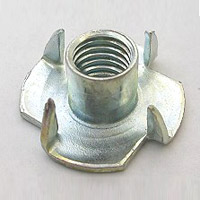
Note: This is a pronged t-nut
Step-by-Step:
Remove the entire seat aseembly from the
boat
- Remove the black, plastic "dart" (#3) from the rear of the "seat base" (#1) and the "rear protector" (#2)
- Bend the "rear protector" back to have access to the slide-stop
nut on the opposite side of the "rear protector"
- Remove the slide-stop bolt using a
short/bent phillips screwdriver and a 13/32" or 10mm wrench/socket
- Lift the slide handle attached to the "seat base" and secure it
into the full, upright position with a zip-tie, tape or wire
(place a zip-tie thru the seat-base hole, around the bracket, back out thru same seat-base hole, and tighten as much as possible) - Slide the
entire seat forward
& off the "seat base" bracket
- Leave the floor-mounted bracket and take the seat off the boat
Remove the Cushion
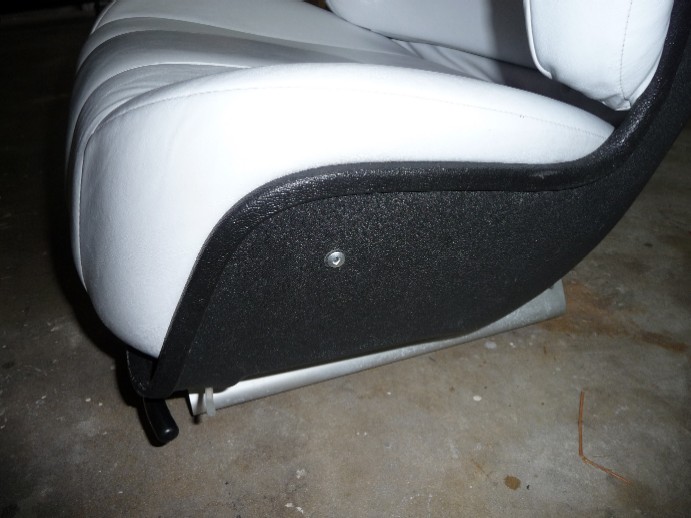
- Using a 1/8" drill bit, drill out the two side pop rivets
(Image #1)
- Pull the rivets from the seat
- Remove the cushion from the seat shell (#9) (Image
#2)
 |
 |
| Image 1: Bottom Cushion Side Rivet |
Image 2: Bottom Cushion Removed |
Detach Seat Shell from Seat Base
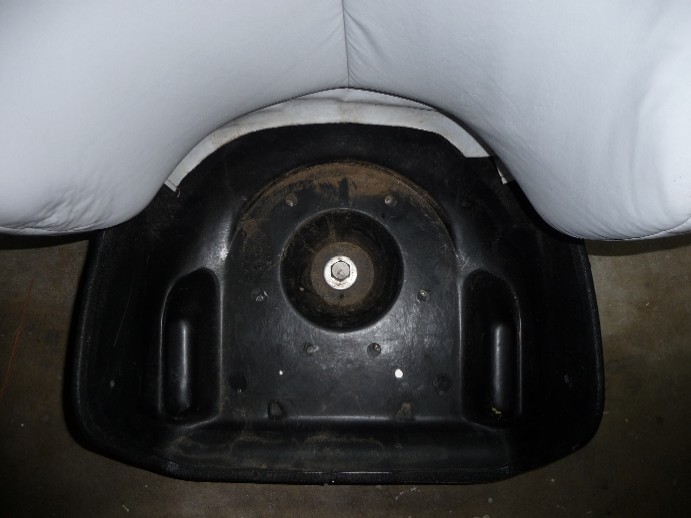
- Using a 15/16" or 24mm socket, remove the "shoulder screw"
(#21) (Image #3)
- The seat shell can now be separated from the seat base
(Image #4)
|
 |
| Image 3: 24mm Seat-to-Base Bolt |
Image 4: Base (Seat Removed) |
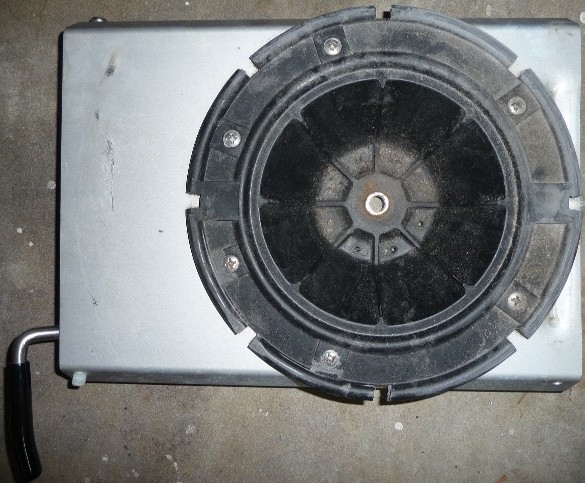
Cut the Base Out of the Shell
- Using a sawzall, cut the seat base swivel section out of the
seat
shell (Image #5)
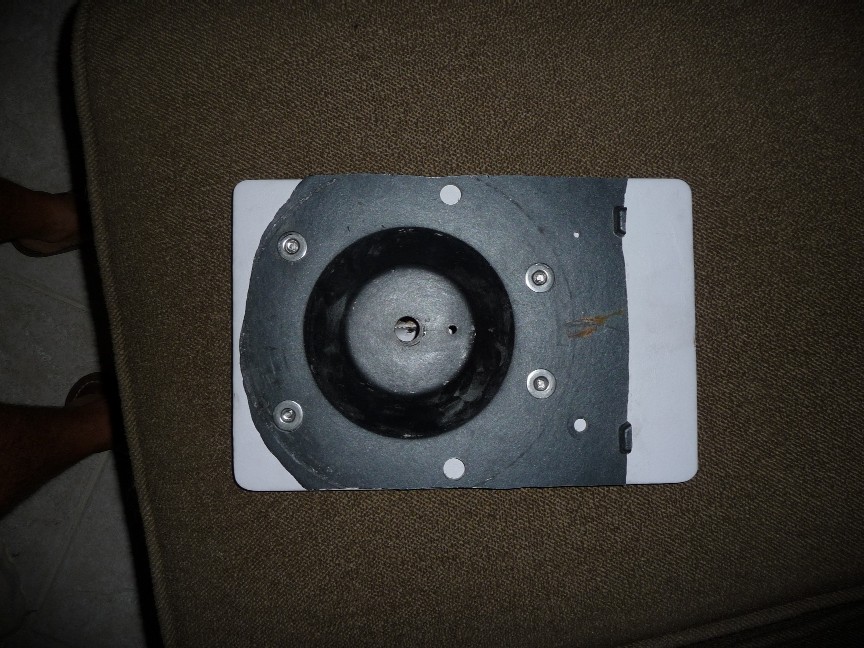
- Refine cutting the seat base to match the width of the
bottom-board
you received with the new seat (Image #6)
 |
 |
| Image 5: Seat Base Cut from Shell |
Image 6: Seat Base Cut to Match Bottom-Board |
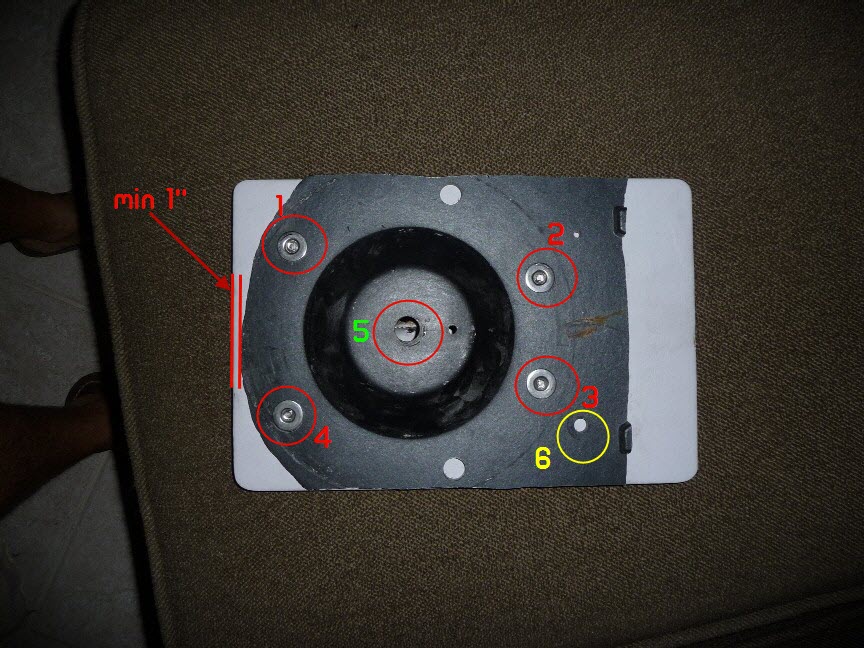
Mount Seat Base to Bottom-Board and Then
to Base
- Mark six holes to be drilled thru bottom-board (Image #7)
(3/8" holes for #1-4, 2" hole for # 5 , and 3/4" hole for # 6 )
(NOTE: Learn from my mistake ... move base down so you have a min. 1" from bottom-board edge to base edge (left side of Image #7)) - Drill all six holes
- Counter-sink the four screw holes (#1-4)
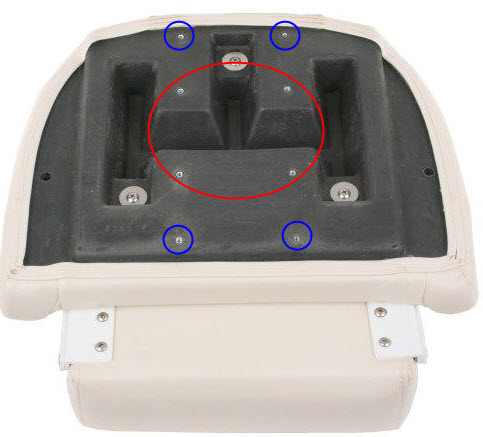
- The bottom-board comes pre-drilled for the four inside holes of the Veada seat. Mark and drill for the outside four holes (Image #8)
- Attach the seat base to the bottom-board - tighten the four screws (#1-4) as tight as possible
- Attach swivel arm (Exploded View - #13) to hole #
6 (re-attach spring, as well)
- Attach the bottom-board and seat base to the base (Image #4) thru hole # 5
- Attach the bottom-board to the Veada seat bottom, using the
four screws and washers they provided
 |
 |
| Image 7: Base to Bottom-Board |
Image 8: Base Cut to Match Bottom-Board |
Finished Product
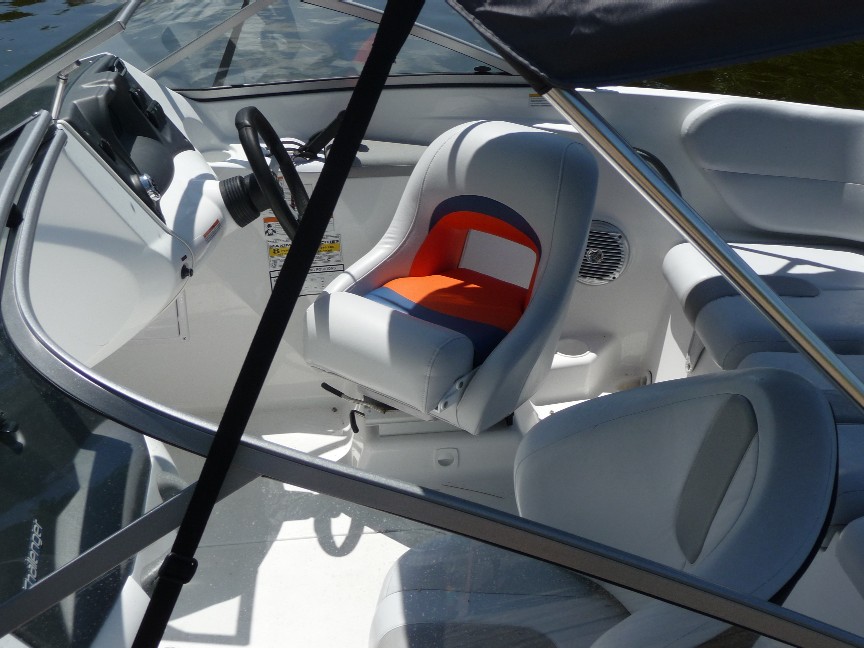 Swiveled - Bolster Down |
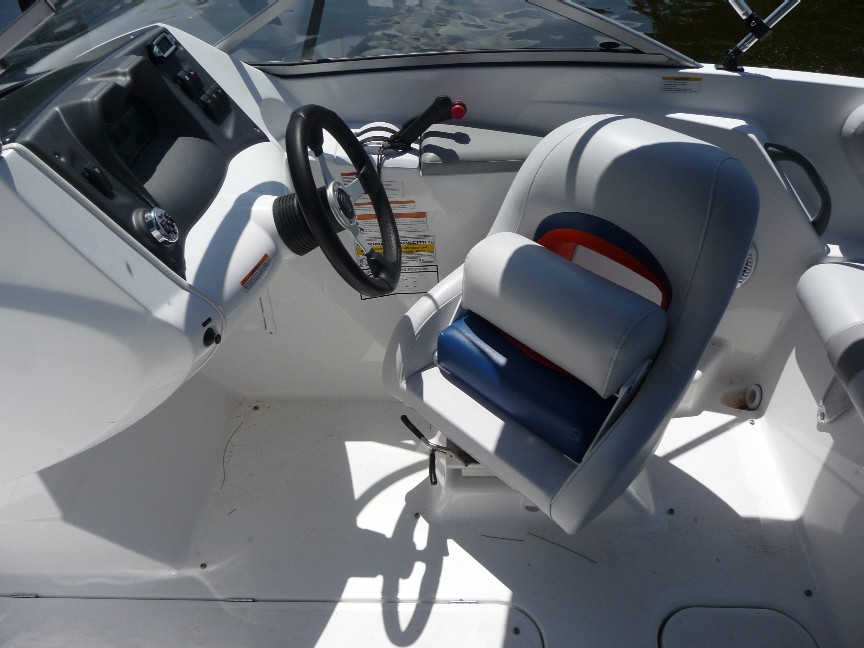 Swiveled - Bolster Up |
| ------------------------------------------------ |
------------------------------------------------ |
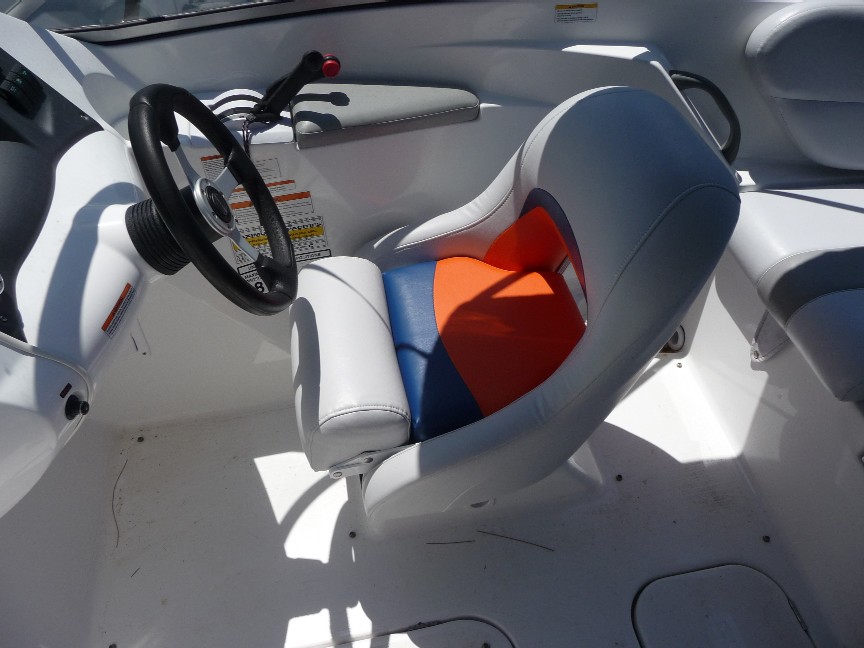 Straight - Bolster Down |
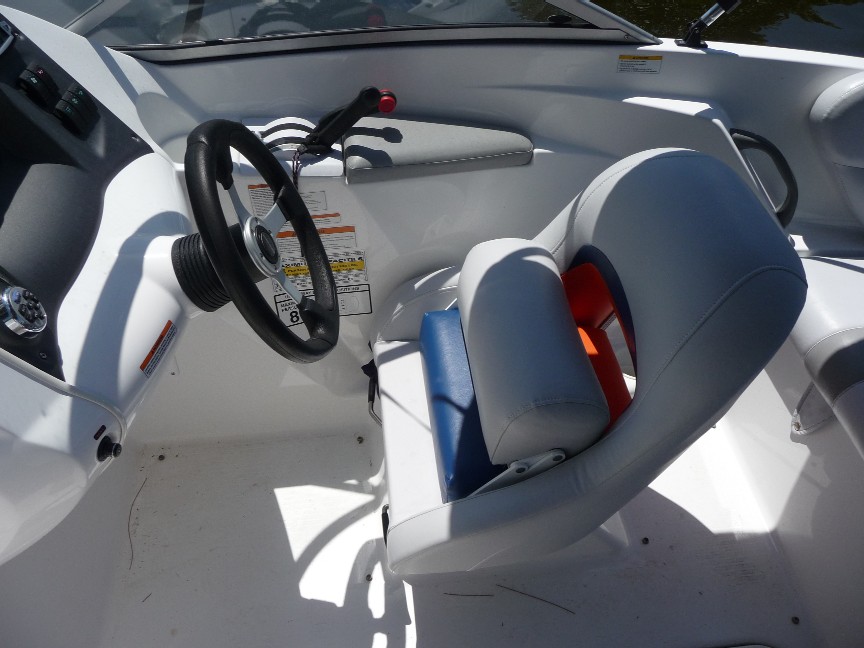 Straight - Bolster Up |